

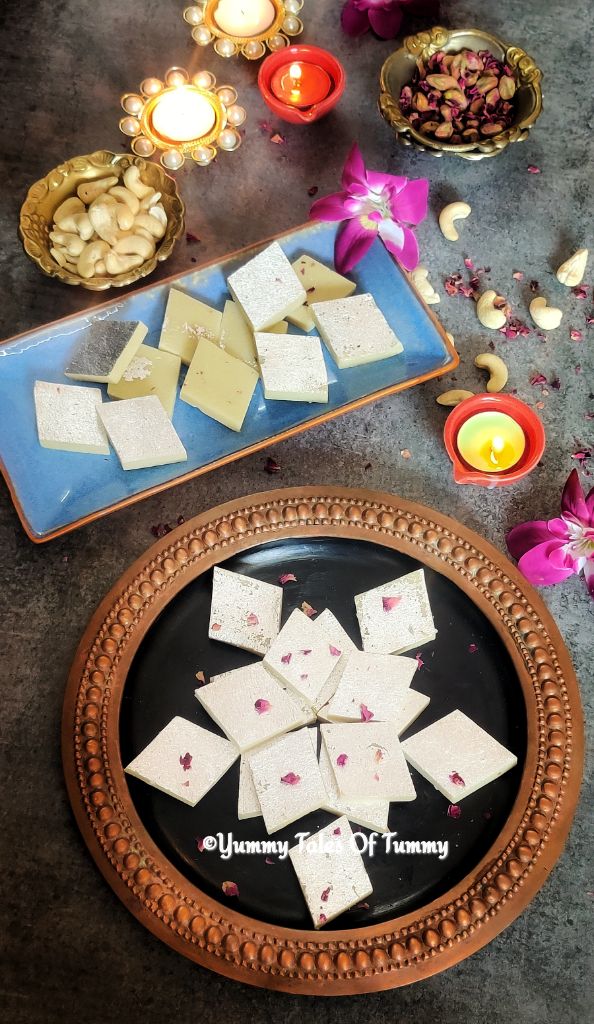
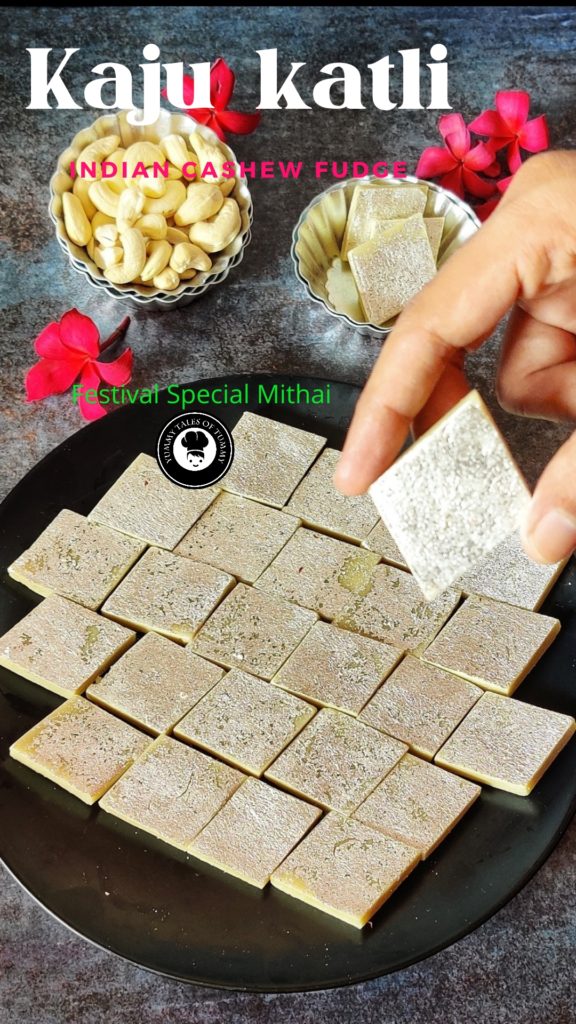
Kaju katli recipe | Kaju ki barfi | Kaju burfi | Cashew fudge recipe | How to make kaju katli at home with step by step instructions
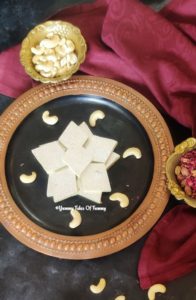
Kaju katli recipe | Kaju ki barfi | Kaju burfi is a Indian cuisine Mithai made on special occasions or during festival times. Here Kaju means Cashews and katli means thin slices.
This mithai is gluten free, vegetarian, easy to make melt in the mouth, oh so delicious made with powdered cashews, sugar, clarified butter (ghee) and cardamom powder.
Kaju Katli or Kaju Barfi is one of the most decadent sweet made with richness of cashew nuts.
It is most sought after mithai and bought from Mithai shops selling these during festival times like. People gift this to their near and dear ones to spread the joy.
However many other Indian sweet recipes are also popular, such as Kalakand, Karachi halwa, Besan ladoo, Boondi Ladoo, Coconut peda, Bengali rose gulkand sondesh and many more.
Why you should try Kaju katli recipe | Kaju ki barfi | Kaju burfi at home ?
Many people are intimidated to try this recipe at home as it involves few techniques to get it perfect.
But let me tell you after going through this recipe, you will think why you didn’t attempt it earlier, as it’s so easy to make at home.
This recipe shared by Jaina Mehta, on a facebook cooking group member, is easy to make, with simple to follow instructions and it doesn’t ask for any check on string consistency of sugar.
However if you are an experienced cook and make Mithai often, you can go ahead with 1 string sugar consistency, the way traditionally it is made.
How traditionally Kaju burfi is made?
Traditionally kaju katli is made using 1 string sugar syrup consistency. After that powdered cashew nuts are added. This technique yields great results as the mixture is not over cooked.
Since I am sharing an easy version of making kaju katli, this recipe doesn’t include the step of making any sugar syrup consistency.
Tips to make perfect kaju katli
1. First and foremost, please do not use refrigerated cashew nuts. Let it come to room temperature first and then use it to make mithai.
2. Using a non-stick cookware helps to avoid making a mess while stirring the cashew mixture and there is less wastage.
3. While transferring the lumpy dough for kneading, do not try to scrape the dough mixture which sticks to the pan.
4. Do not over cook the mixture as this would dry out the barfi.
5. Kneading the mixture well is key to smooth and melt in the mouth katli.
6. If you intend to use edible silver vark (silver leaf), place it carefully over the rolled kaju katli before it cools, prior to slicing it.
7. Keep stuff like greased plates, parchment paper, rolling pin, etc ready before you start the cooking process as making Kaju Katli requires constant attention.
8. The Kaju Katli stays good for atleast 2 weeks. If you use milk, its shelf life would reduce so storing it in the refrigerator is preferred.
Step by step instructions and pictorial presentation to make Kaju katli recipe | Kaju ki barfi | Kaju burfi
Powder the cashew nuts in a mixer grinder, in small batches. To make this mithai use whole cashews or broken pieces of Kaju.
Take care that you do not pulse it for a long time or the cashew nuts would release its oil and it would turn pasty.
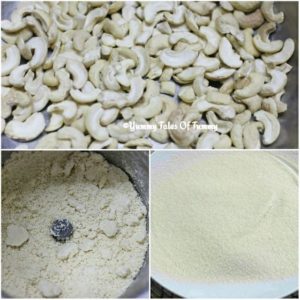
Sieve the cashew nut powder and keep aside (do not use a fine sieve for this).
In a non-stick pan heat sugar and water till the sugar dissolves. Add the cashew nut powder and mix well (there is no need of any string consistency of sugar syrup).
Add cardamom powder and stir. Break lumps, if any, while stirring. Keep stirring the mix till it comes together and starts forming a soft dough like consistency.
This would take around 8-9 minutes of stirring over medium to low heat. Transfer this lumpy dough to a work surface or on a greased plate.
When the dough is still warm (or a bit hot, as long as you can handle it) add 1 tbsp of melted ghee, start kneading it lightly.

You may grease your palm with some ghee before kneading. Kneading will smoothen out the dough, do not overdo it.
If you find the dough to be hard add a tablespoon of milk and knead to soften it.
Flatten this dough with your palm and start rolling it by keeping it in between two parchment papers (butter paper) before rolling it.
This would give a smooth texture to the Katli. Ensure that the dough is warm while rolling or it would be difficult to roll the cooled dough.
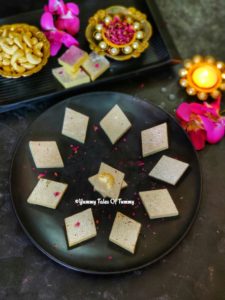
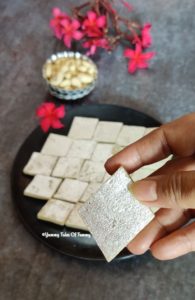
Gently roll the dough to a thickness of 3 to 5 mm. As the katli cools, carefully measure and mark the katli using a scale. Cut it using a sharp knife, in diamond or square shapes.
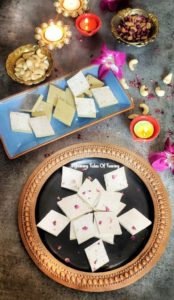
After it cools completely, gently remove the Kaju Katli slices. Serve or transfer the slices to airtight containers and store for further use.
Recipe Card 🔽
Kaju katli recipe | Kaju ki barfi | Kaju burfi
Ingredients
Method
- Powder the cashew nuts in a mixer grinder, in small batches.
- To make this mithai use whole cashews or broken pieces of Kaju.
- Take care that you do not pulse it for a long time or the cashew nuts would release its oil and it would turn pasty.
- Sieve the cashew nut powder and keep aside (do not use a fine sieve for this).
- In a non-stick pan heat sugar and water till the sugar dissolves.
- Add the cashew nut powder and mix well (there is no need of any string consistency of sugar syrup).
- Add cardamom powder and stir. Break lumps, if any, while stirring. Keep stirring the mix till it comes together and starts forming a soft dough like consistency.
- This would take around 8-9 minutes of stirring over medium to low heat.
- Transfer this lumpy dough to a work surface or on a greased plate.
- When the dough is still warm (or a bit hot, as long as you can handle it) add 1 tbsp of melted ghee, start kneading it lightly.
- You may grease your palm with some ghee before kneading. Kneading will smoothen out the dough, do not overdo it.
- If you find the dough to be hard add a tablespoon of milk and knead to soften it.
- Flatten this dough with your palm and start rolling it by keeping it in between two parchment papers (butter paper) before rolling it.
- This would give a smooth texture to the Katli.
- Ensure that the dough is warm while rolling or it would be difficult to roll the cooled dough.
- Gently roll the dough to a thickness of 3 to 5 mm.
- As the katli cools, carefully measure and mark the katli using a scale. Cut it using a sharp knife, in diamond or square shapes.
- After it cools completely, gently remove the Kaju Katli slices.
- Serve or transfer the slices to airtight containers and store for further use.
Notes
I hope you guys enjoyed reading my today’s post. Please share your valuable feedback in comments with us, as we love to hear from you.
You can follow me on Facebook, Instagram, Pinterest, and on Twitter.
I will see you soon with yet another interesting recipe. Come right back as I love to have you around.
Happy Cooking
Regards❤️
Lata
Pin it for future reference 🔽
")


 | Fulka Recipe")
")
Hey Lata, as you said this is a super easy recipe and anyone can try this out and enjoy their favourite mithai at home Love the stepwise explaination.
Thanks Amrita.
I love your small small tips that you have mentioned. Although the ingredients are not too much but making kaju katli is tricky. I am sure they were yum.
I completely agree with you Avin. It’s a constant learning process to make Indian mithai recipes. It tasted way better than market bought ones, which sometimes feel like you are eating lump of dough.
Kaju Katli is a must-do recipe for us during Diwali. I love the little tips that you have shared, especially the one to leave out the dried sticky portions to give a smooth katli.
Thanks Seema, yes making perfect mithai is an art that we all learn by reading tips and doing many trials and errors.
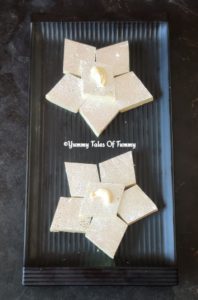
Perfect diamond shaped kaju katli Lata. Like how perfect and thin the katli is. I make kaju katli at home but can never manage even sized pieces. I should have more patience and use a ruler or scale as you have suggested.
Using scale to cut the pieces of katli is what I learnt from many trial and errors Mayuri. This worked perfectly for me and the end result is beautifully slices.
Thanks Mayuri, glad you liked the idea.
Kaju katli is one of favorite sweet and I think everyone loves it , your recipe looks so easy to prepare. Very well explained would love to try it once.
Glad to know that you liked it Hemlata.
Kaju katli looks mouthwatering delicious . Ever since wo started making them at home I have stopped buying them. Yours looks just as amazing as the store bought ones.
Thanks Sapana. Same here, homemade are the best and better than store bought ones anyday.
Pingback: 40 Best Diwali Recipes | Diwali Snacks and sweets - Yummy Tales Of Tummy
Pingback: Badam Halwa Recipe | Almond Halva | Badam Sheera - Yummy Tales Of Tummy
Pingback: Fruit Caramel Pudding | How to make Fruit Pudding - Yummy Tales Of Tummy
Pingback: 18 Best Navratri Recipes | Fasting Recipes | Vrat Recipes - Yummy Tales Of Tummy